22.03.2018
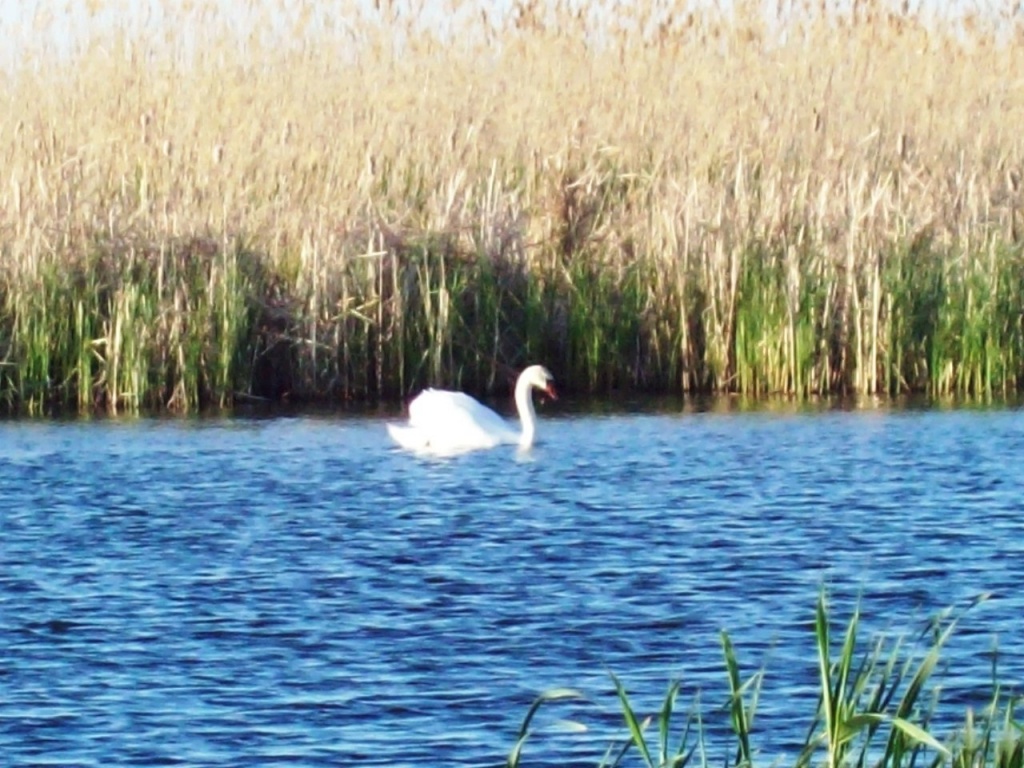
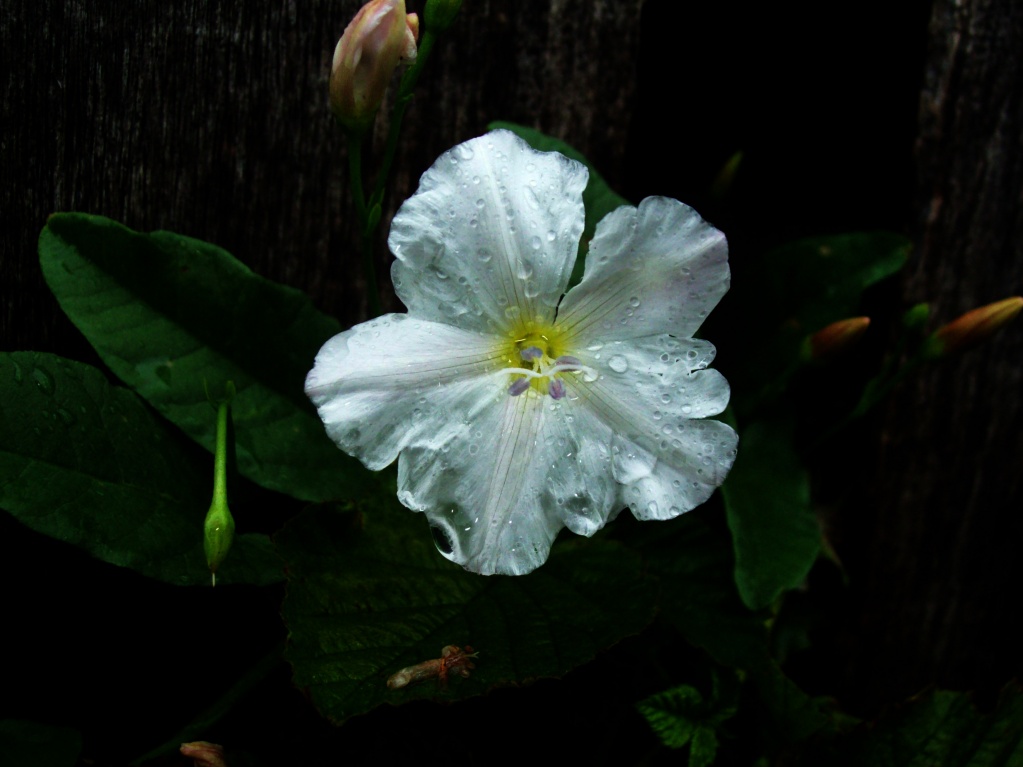
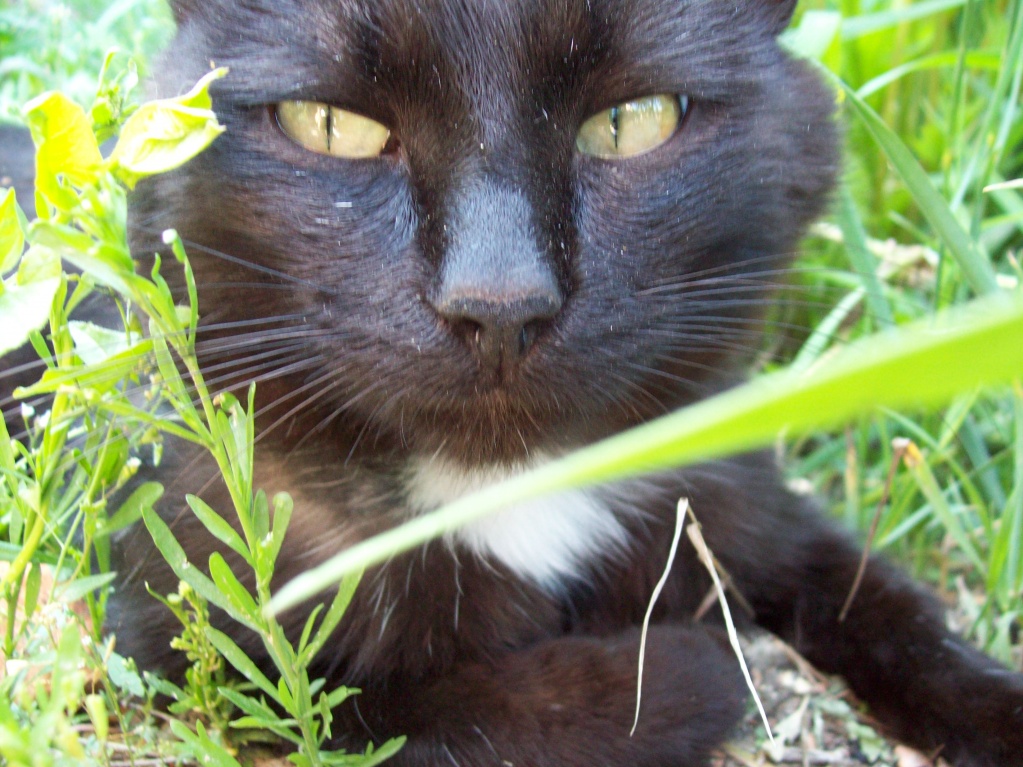
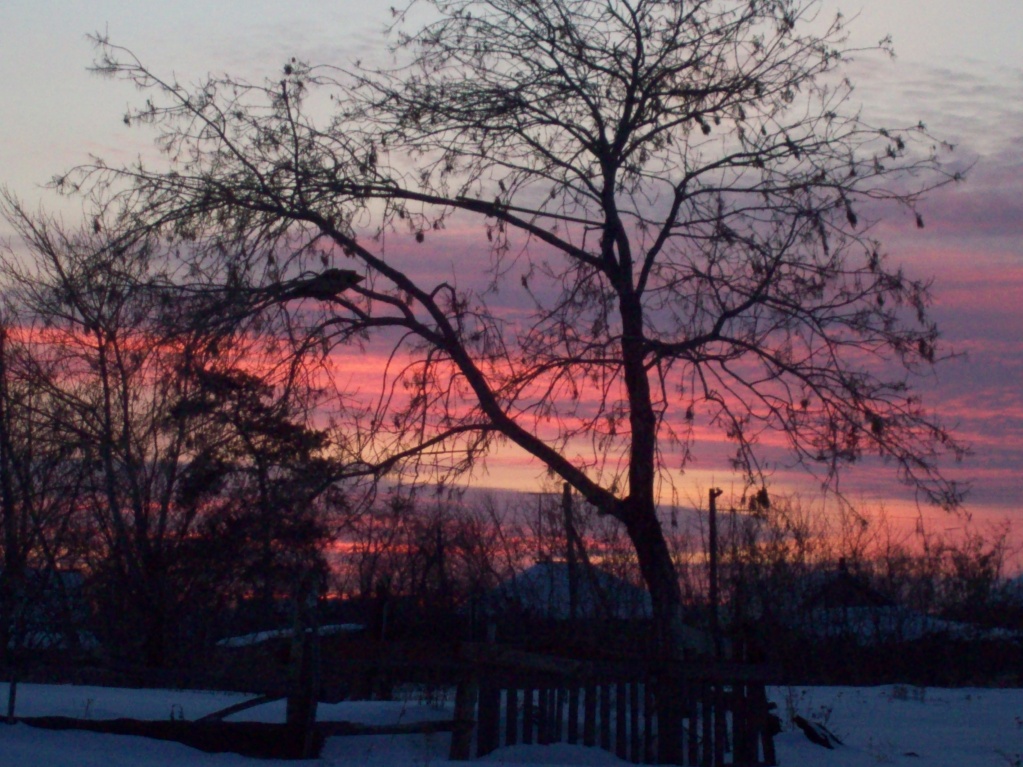
Как сделать обычный слайдер фотографий, но чтобы кнопки переключения были не точки и не стрелки, а фото?
есть в принципе готовые решения, но не всегда они удовлетворяют заказчика. поэтому я сделала свое.
На плагинах owl.carousel и fancybox 3.
Допустим у вам есть инфоблок со свойством Картинки и код свойства MORE_PHOTO.
Берем любой компонент ,например новость детально или элемент каталога, в общем, тот, в котором вам нужен слайдер и копируем шаблон.
В шаблоне добавляем такой код, предварительно конечно настроив компонент на вывод этого свойства.
Далее создаем файл script.js, добавляем его в шаблон и в нем размещаем такой код:
есть в принципе готовые решения, но не всегда они удовлетворяют заказчика. поэтому я сделала свое.
На плагинах owl.carousel и fancybox 3.
Допустим у вам есть инфоблок со свойством Картинки и код свойства MORE_PHOTO.
Берем любой компонент ,например новость детально или элемент каталога, в общем, тот, в котором вам нужен слайдер и копируем шаблон.
В шаблоне добавляем такой код, предварительно конечно настроив компонент на вывод этого свойства.
 if(isset($arItem["DISPLAY_PROPERTIES"]["MORE_PHOTO"]["VALUE"]) && !empty($arItem["DISPLAY_PROPERTIES"]["MORE_PHOTO"]["VALUE"]) && count($arItem["DISPLAY_PROPERTIES"]["MORE_PHOTO"]["VALUE"])>1):?>

	 <?

	 foreach($arItem["DISPLAY_PROPERTIES"] as $arProperty):?>

	 <?if($arProperty["CODE"]=="MORE_PHOTO"):?>

	 <div class="carousel owl-carousel owl-theme">

	 <?$k=0;?>

	 <?foreach($arProperty["FILE_VALUE"] as $image){?>

	 <a href="<?=$image["SRC"]?>" data-fancybox="images<?=$arItem['ID']?>">

	 <img class="bigimg" src="<?=$image["SRC"]?>" style="max-height: 500px; width: auto;" alt="<?=$k?>">

	 </a>

	 <?$k++;?>

	 <?}?>

	 </div>

	 <div class="thumbs owl-carousel owl-theme">

	 <?$k=0;?>

	 <?foreach($arProperty["FILE_VALUE"] as $image){?>

	 <img class="buttonimg" src="<?=$image["SRC"]?>" style="height: 100px; width: 100px;" alt="<?=$k?>">

	 <?$k++;?>

	 <?}?>

	 </div>

	 <?endif?>

	 <?endforeach;?>

	 <?else:?>

	 <?foreach($arItem["DISPLAY_PROPERTIES"] as $pid=>$arProperty):?>

	 <?if($arProperty["CODE"]=="MORE_PHOTO"):?>

	 <a href="<?=$arProperty["FILE_VALUE"]["SRC"]?>" data-fancybox="images<?=$arItem['ID']?>">

	 <img class="bigimg" src="<?=$arProperty["FILE_VALUE"]["SRC"]?>" style="max-height: 500px; width: auto;" alt="<?=$arItem['ID']?>">

	 </a>

	 <?endif?>

	 <?endforeach;?>

	 <?endif?>
Далее создаем файл script.js, добавляем его в шаблон и в нем размещаем такой код:
$(document).ready(function(){

$('.carousel').owlCarousel({
   loop:true,
center:true,
   nav:false,
items: 1,

});

$('.thumbs').owlCarousel({
   loop:true,
   nav:true,
navText:["<",">"],
items: 9,

responsiveClass:true,
   responsive:{
       0:{
           items:2,
nav:true,

       },
       400:{
           items:3,
nav:true,

       },
500:{
           items:4,
nav:true,
       },
600:{
           items:5,
nav:true,
       },
       700:{
           items:6,
nav:true,
       },
800:{
           items:7,
nav:true,
       },
   }
});

$(".owl-item.cloned").children("a").removeAttr("data-fancybox");

$(".buttonimg").on("click",function(){
var n=Number($(this).attr("alt"));
if($(this).parent('.owl-item').prev('.owl-item').last().hasClass('active')){
$('.thumbs').trigger('next.owl.carousel');
}else{
$('.thumbs').trigger('prev.owl.carousel');
}
$('.carousel').trigger('to.owl.carousel',[n, '300']);
});

$('.owl-prev').on('click', function() {
$('.carousel').trigger('prev.owl.carousel');
});
$('.owl-next').on('click', function() {
$('.carousel').trigger('next.owl.carousel');
});

});
Ну и добавляем свои стили если надо в файле style.css в компоненте. .carousel{
overflow:hidden;
position:relative;
width: 900px;
}
.owl-item.center{
text-align:center;
}
.thumbs{
overflow:hidden;
position:relative;
width: 900px;
}
.owl-next{
position: absolute;
bottom: 50px;
right: 0;
font-size: 28px;
line-height: 28px;
}
.owl-prev{
position: absolute;
bottom: 50px;
left: 0;
font-size: 28px;
line-height: 28px;
}
.owl-thumb-item img {
width: 100px;
height:100px;
vertical-align:top;
}
.owl-thumb-item {
display: table-cell;
border: none;
background: none;
padding: 0;
height:100px;
width: 100px;
overflow:hidden;
}
.owl-thumbs{width:500px; }
.owl-dots{visibility: hidden;}
@media (max-width: 1024px){
.carousel{
width:500px;
}
}
@media (max-width: 768px){
.carousel{
width:500px;
.thumbs{
width:500px;
}
}
}
@media (max-width: 425px){
.carousel{
width:380px;
}
.thumbs{
width:380px;
}
}
@media (max-width: 412px){
.carousel{
width:380px;
}
.thumbs{
width:380px;
}
}
@media (max-width: 375px){
.carousel{
width:350px;
}
.thumbs{
width:350px;
}
}
@media (max-width: 360px){
.carousel{
width:330px;
}
.thumbs{
width:330px;
}
}
